For Best Results ... Applying Smart Vinyl to Wood
Posted by The Handprint Team
Some of the most satisfying maker projects use a smart cutter to create vinyl decals for wood surfaces. But what are the secrets to getting your vinyl to stick successfully? Like most things, the best results rely on the best prep. So grab your safety gear and sandpaper, and let's get those decals on ... for good.
How to hack your wood to make your vinyl stick
First, there's no point in applying vinyl to unfinished wood. Meaning, it'll stick. At first. Until it lifts back up disappointingly soon. This is because the adhesive on the back can't form a strong bond with a rough, unsealed surface, like plywood.
1. It starts with lots of sanding
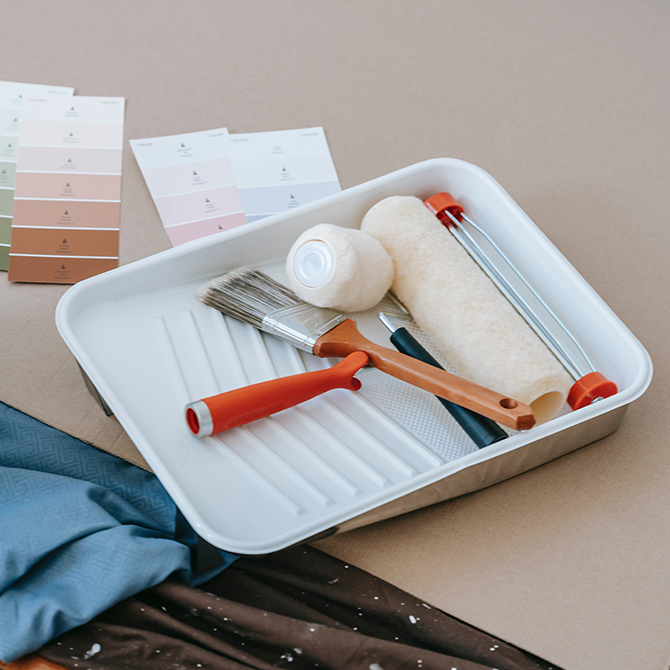
The good news is that vinyl sticks best to the same ultra-smooth surface you're typically going for anyway. And that means it's time to sand. Start with 150-180 grit if your wood is moderately smooth, or use a coarser grit if it's rougher. Use a 3-step progression of increasingly finer grits until you achieve a completely smooth surface. (For a full tutorial on the basics of sanding, catch up here!) Use a tack cloth to thoroughly wipe down every surface when done.
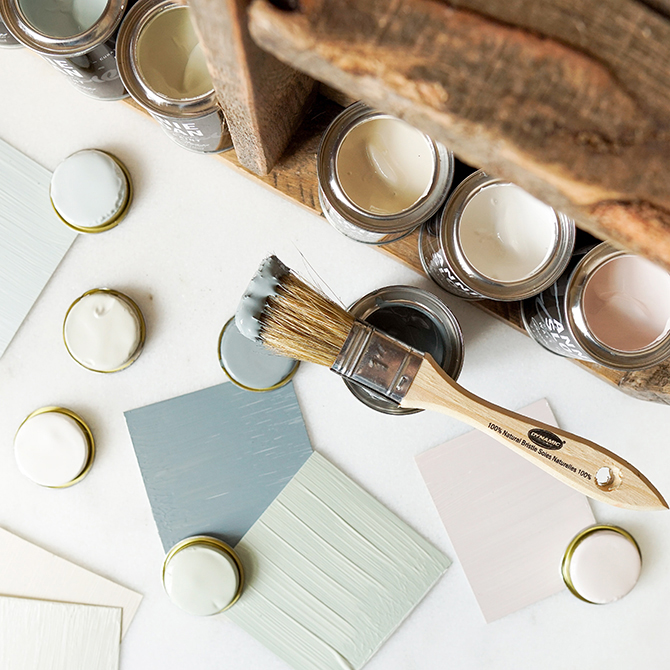
2. Coat, sand. Coat, sand. Finish.
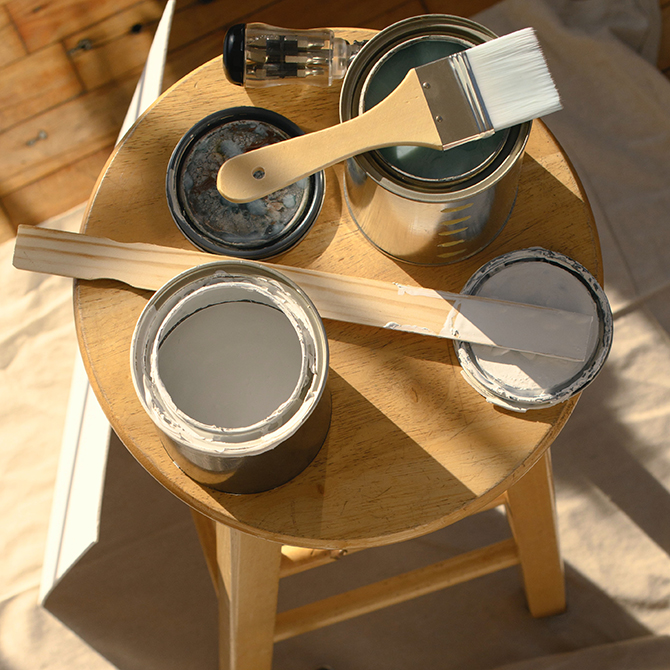
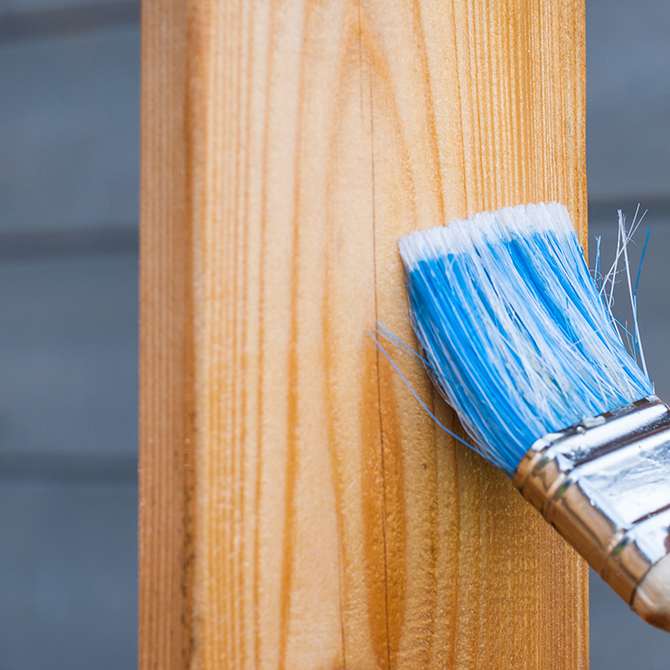
After your initial big sanding, apply your first coat of primer, paint, stain, or clear polycrylic. Follow the manufacturer's recommendation for drying time, then sand lightly and evenly with 220-grit sandpaper. Carefully wipe away all the dust with a tack cloth.
Repeat the coating and sanding process until you've achieved a finish you're happy with.
As a final topcoat, we recommend a clear polycrylic in the sheen of your choice. (We suggest polycrylic rather than polyurethane because the latter has a noxious odor, is harder to clean up, and tends to tinge yellow over time.)
3. Let your project dry for a full 48-72 hours after your final coat of finish
This is the key to a successful, long-lasting, vinyl-meets-wood project!
4. Apply your smart vinyl
By the time you've achieved this smooth, beautifully cured finish, your surface is ready to create a strong bond with your vinyl. Make sure there's no dust on your project, then apply your vinyl following the instructions included with your smart cutting machine.
Pro tip! After peeling off the backing, but before sealing in the next step, use a burnishing tool to press and smooth your vinyl down one last time.
5. Seal it
This final step is optional, but we highly recommend it for best results. Let your vinyl bond to your finished surface for 24-48 hours, then apply 1-3 coats of clear polycrylic. The more coats you apply, the more securely sealed down your decal will be, ensuring the durability of your project over time.
6. Cure it
Depending on the temperature and humidity in your workspace, let your freshly finished project cure for at least 24-48 hours, ideally up to 2 weeks before heavy handling.
Use Heat Transfer Vinyl Instead
Many makers prefer using HTV (heat transfer vinyl) for their wood projects because it creates a more unique, painted-on look and requires less prep to make it stick. The first time-saver is getting away with a slightly rougher surface, so less sanding. Second, it doesn't require a final sealing because HTV is more durable than sealed conventional vinyl. Finally, as a bonus, you can lay your transfer sheet down and pick it back up for repositioning as many times as you like.
Lastly, even though HTV is more expensive than conventional vinyl, it doesn't require transfer tape or sealer and paintbrushes, so in the end, it costs about the same.
Pro tip! Let your HTV cool for a minute or two before removing the backing. Just a little time allows the adhesive to start bonding and makes it easier to peel away.
In Summary
Makers who've experienced frustration at failed wood-vinyl matchups in the past, take heart. You're not alone. But with better advice, a little practice, and some diligent prep work, you'll find the best methods for the best results.
Troubleshooting Tips:
If you can't get your conventional vinyl to stick during application:
-
Give it more time -- some adhesives start bonding slower than others. Use good firm pressure to burnish the vinyl onto your surface, then let it sit for 20 minutes before trying the transfer tape again
-
Try a different transfer tape -- some stick and release on various surface better than others
-
Try a different kind of vinyl with a different type of adhesive